
Ok, so, things aren't quite as straight forward as they seem. 3D printers, it turns out, are pretty complex, and require a good bit of maintanance, patience, learning and fine-tuning. If you look in the print settings of your slicer - the program that turns a model into a set of instructions the printer can understand - then there are hundreds of configurable parameters. But it's fine! You don't need to know them all! Unless you really want to! Or you find you have a problem, search on reddit, and find you have to know it!
✨ Hole Expansion ✨ is a slightly silly way of saying "how big should the holes that the printer makes in a model be?". And for me at least, the answer was "bigger than the current ones at any rate". It seems that, for varying reasons that boil down to "molten plastic is hard to control", each printer is a little quirky and can make holes that differ slightly from the model. Although it is often kinda confusingly worded (do I set a positive value in the slicer to get bigger holes.... or smaller ones....), with the help of some tests I was able to increase the holes with a value around +0.12mm.
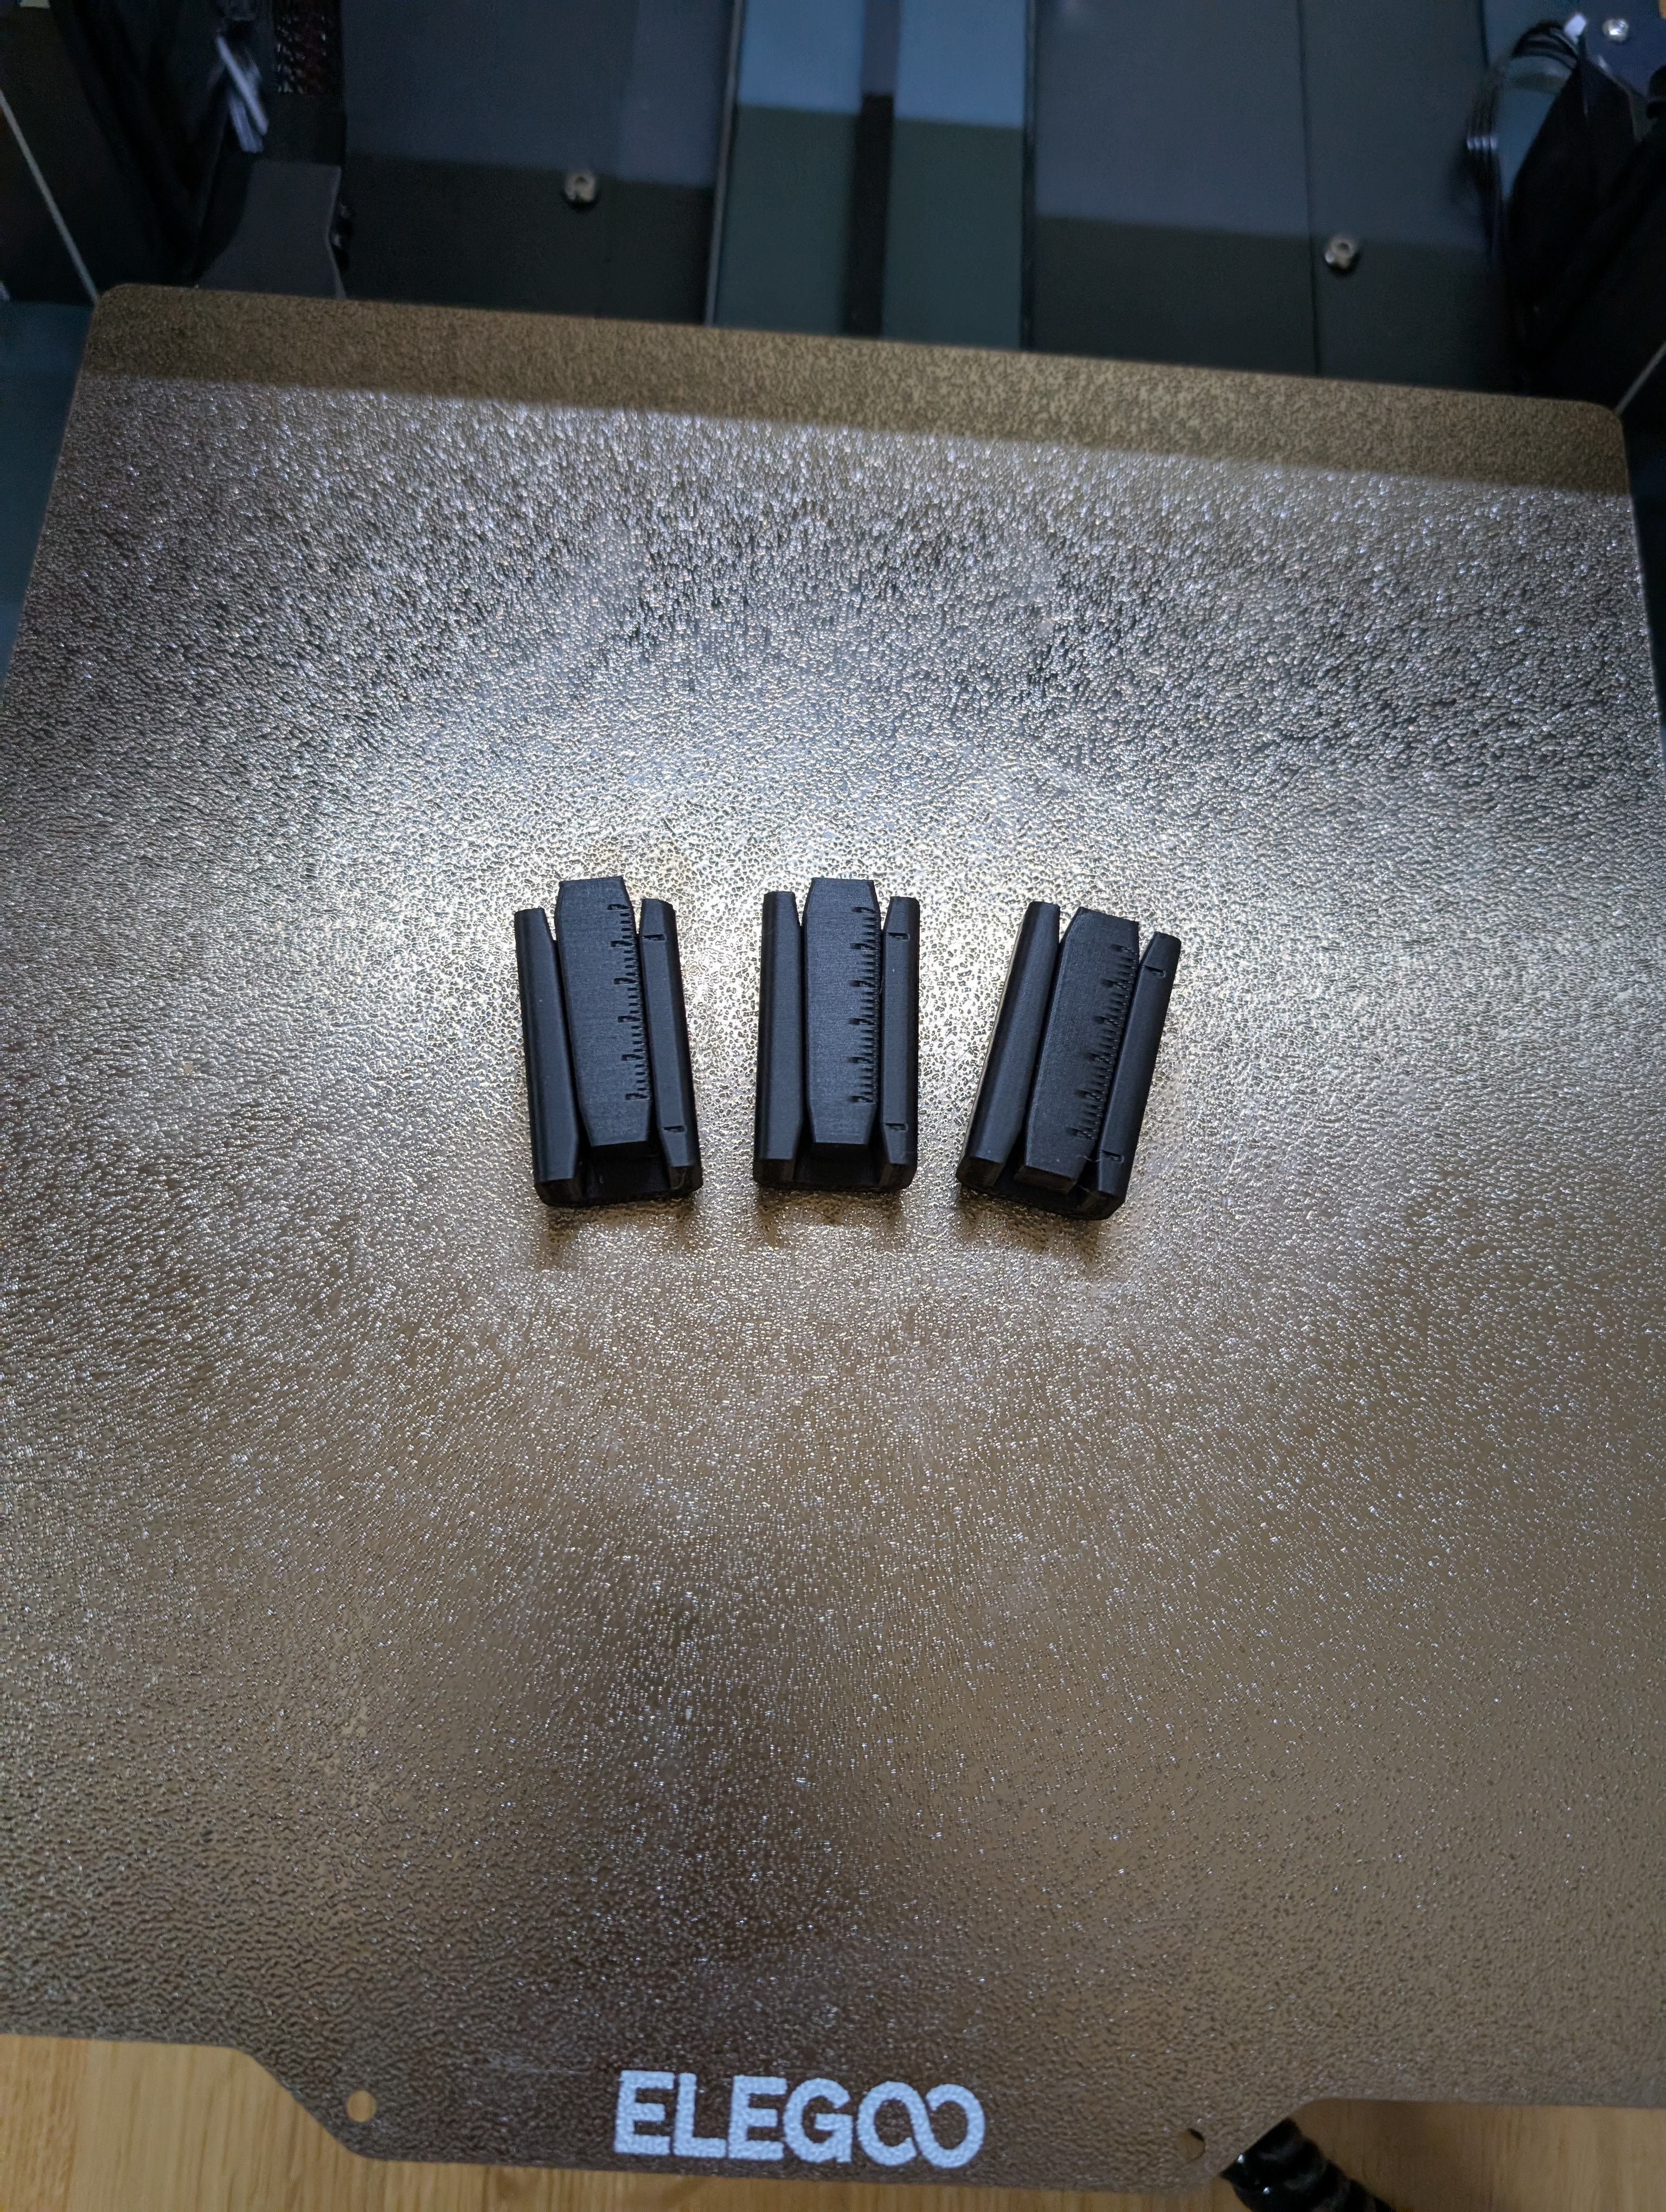
The Hole Expansion Tests that helped to find the right HE value to use.
After that, I was finally able to print the tool holder model that came with the Neptune 4 - this thing fits onto the Z Axis mount near the leadscrew and holds a whole bunch of the tools that came with the printer. Now the screwdrivers actually fit properly.
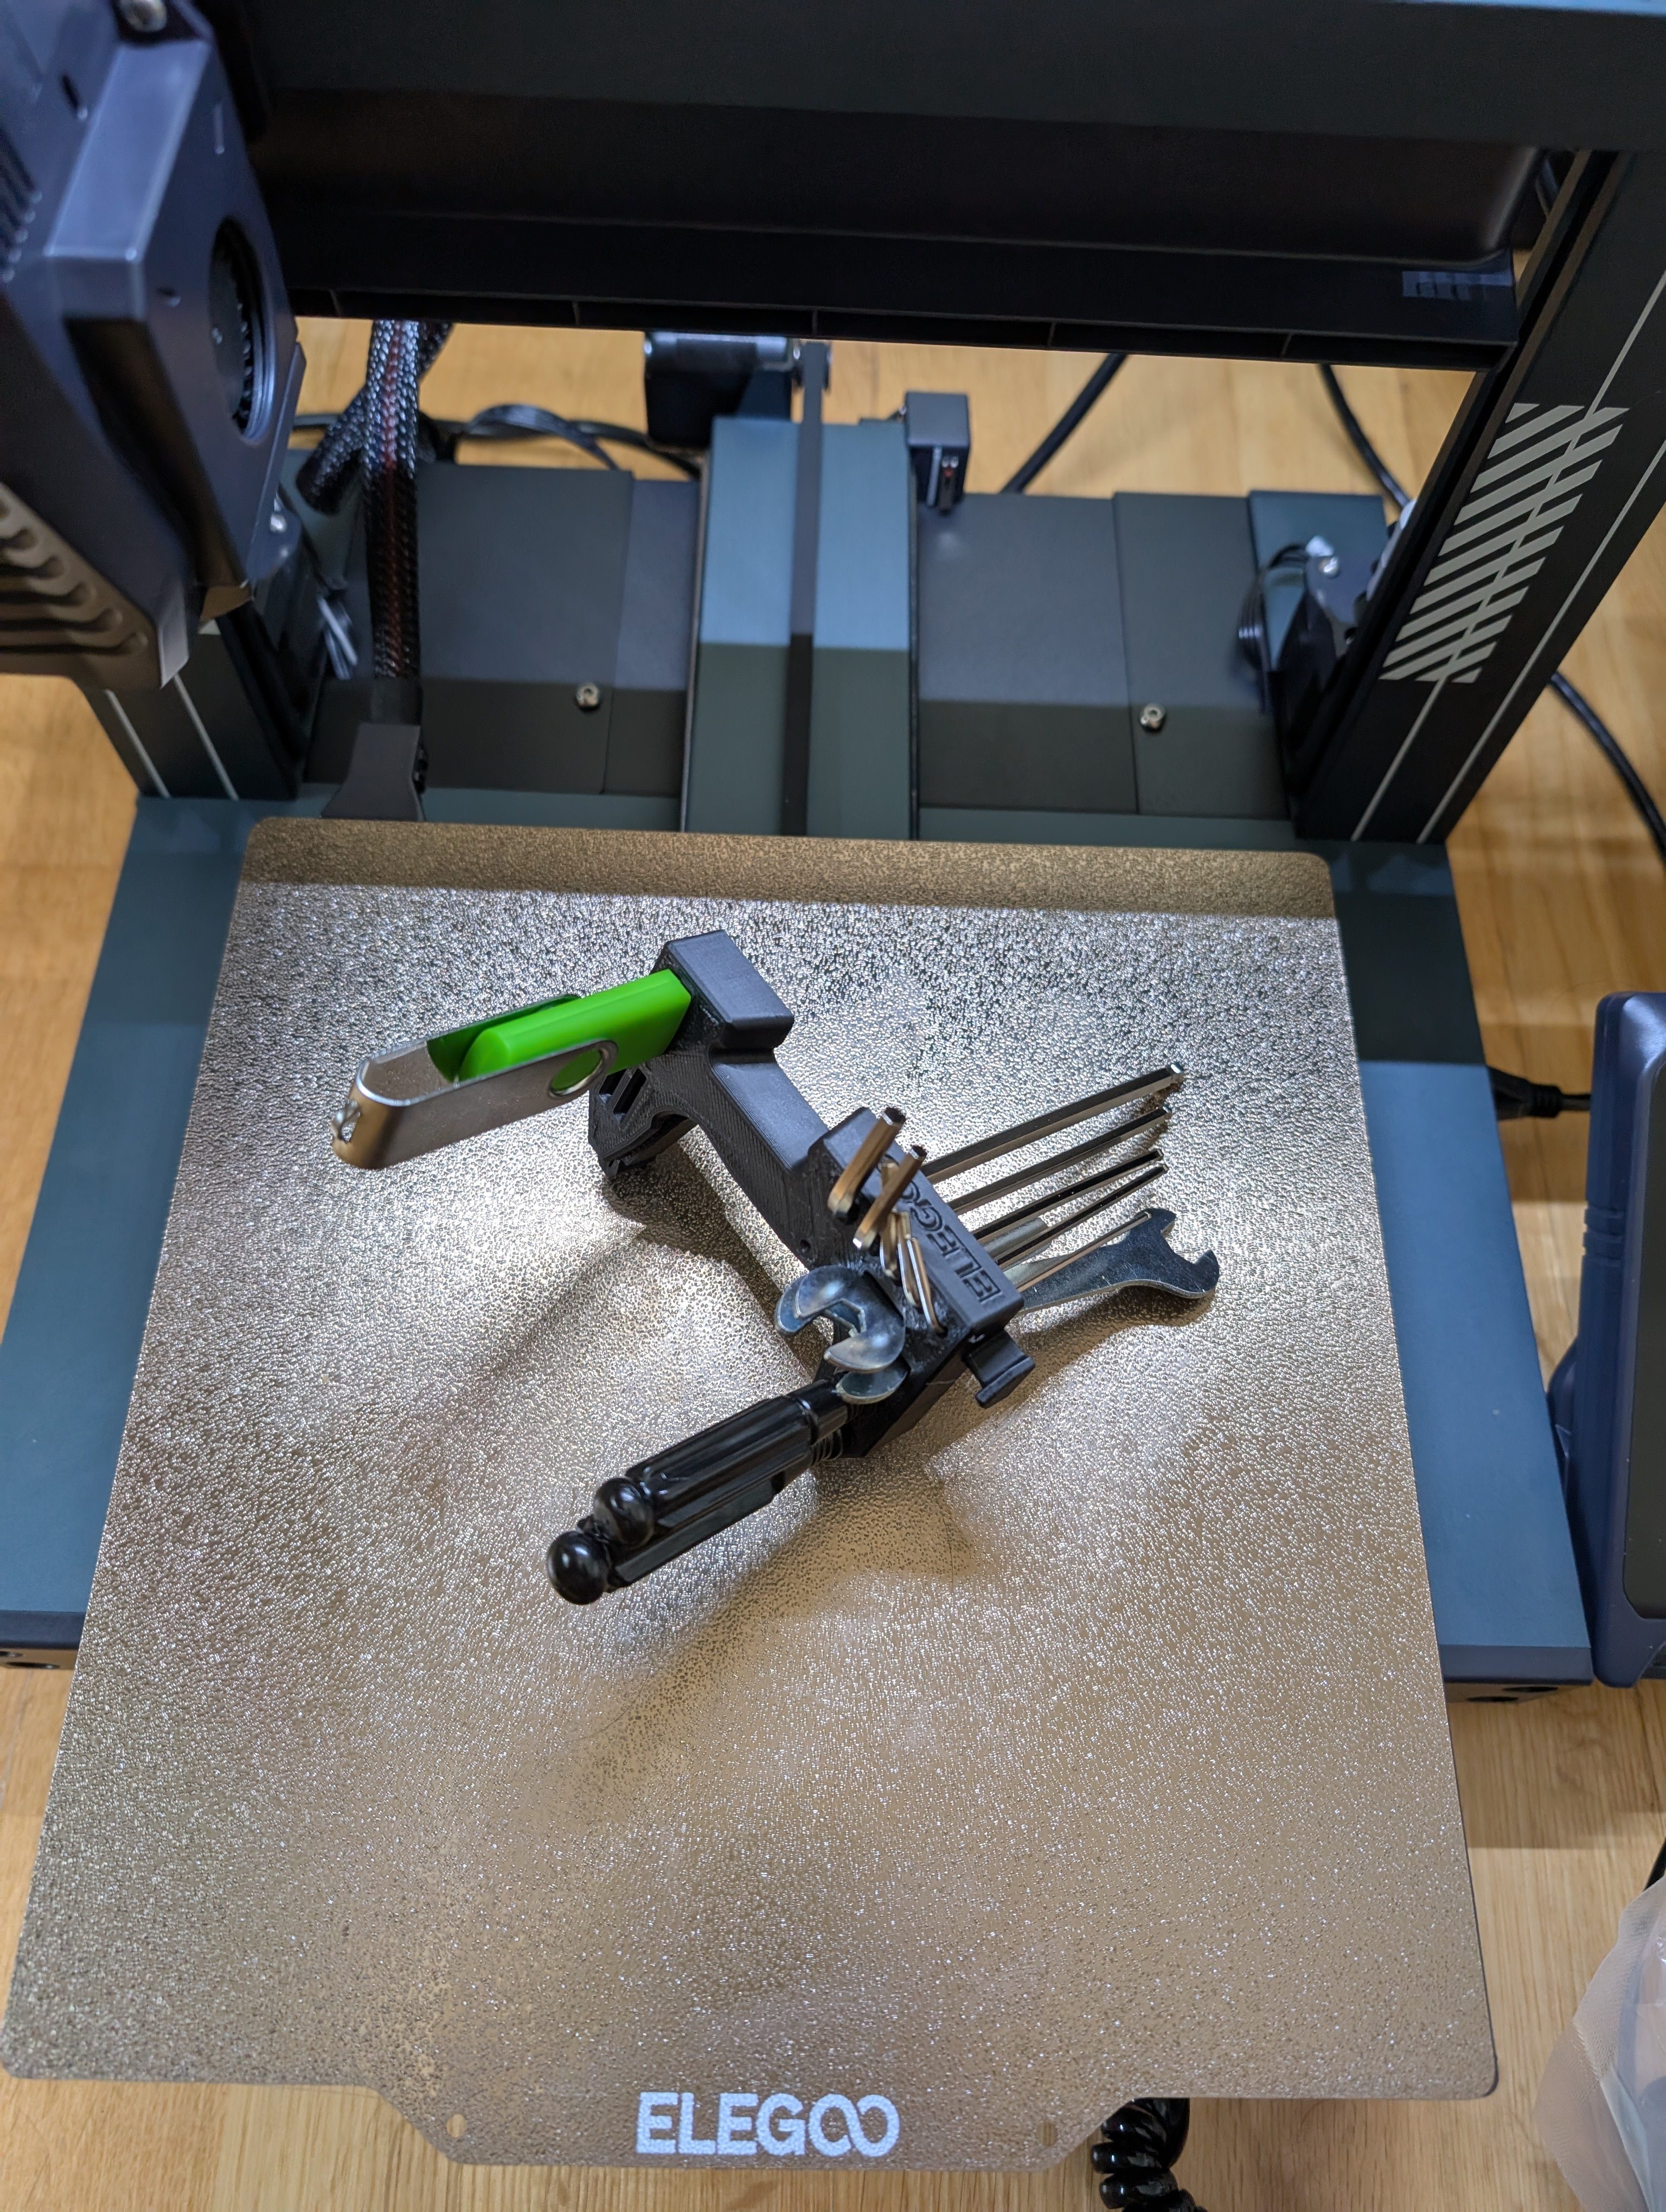
My holes are appropriately expanded now.